How to Align Your Finder Scope So You Can Find Objects
Published How we research
One of the most common beginner frustrations is pointing a telescope at a bright star or the Moon and seeing nothing but darkness in the eyepiece. The telescope's field of view is tiny compared with the sky, and if the finder scope or red dot finder points even slightly differently from the main tube, objects never appear. Aligning the finder and starting with low magnification solves the problem for most people.
Start with low magnification
Eyepieces with longer focal lengths, such as 25mm or 32mm, give lower magnification and a wider field of view. Always start with your lowest power eyepiece when finding objects, and only switch to higher magnification once the object is centred.
Beginners often try the highest power eyepiece first, which shows such a small patch of sky that even a slight pointing error misses the target entirely. A wide field makes it much easier to see what you are pointing at.
Align the finder in daylight
Aligning a finder is easiest during the day. Point the telescope at a distant, stationary object at least several hundred metres away, such as a chimney, antenna or treetop, and centre it in the low power eyepiece. Never point a telescope anywhere near the Sun.
Without moving the telescope, adjust the finder's alignment screws until the red dot or crosshairs sit exactly on the same object. Check the main eyepiece again, then repeat with a higher power eyepiece for more precise alignment.
Refine alignment at night
At night, centre a bright star or planet in the low power eyepiece and make small adjustments to the finder so it matches. Finders can shift slightly during transport, so a quick check at the start of each session saves time.
The Moon is an easy target to test alignment, since it is large and bright. Once the finder puts the Moon in the eyepiece, move on to bright stars and planets.
Check focus
Sometimes the object is in the field but so out of focus that it looks like a faint haze or nothing at all. Focus on a distant daytime object first and remember roughly where the focuser sits for infinity.
Different eyepieces may need small focus adjustments. Diagonal and Barlow lens combinations can change focus position significantly, so refocus after changing accessories.
Upgrade finders if needed
Red dot finders are simple and intuitive for bright targets, while right-angle correct-image finders make star hopping more comfortable and show fainter stars. Many observers use both.
Check that the finder's battery is not dead and that its brightness setting is not too high, which can hide faint stars. A sturdy finder bracket holds alignment better than loose plastic mounts.
Products from this article
The highest-scoring picks from the buying guides mentioned above. Scores are our editorial assessment, not customer ratings.
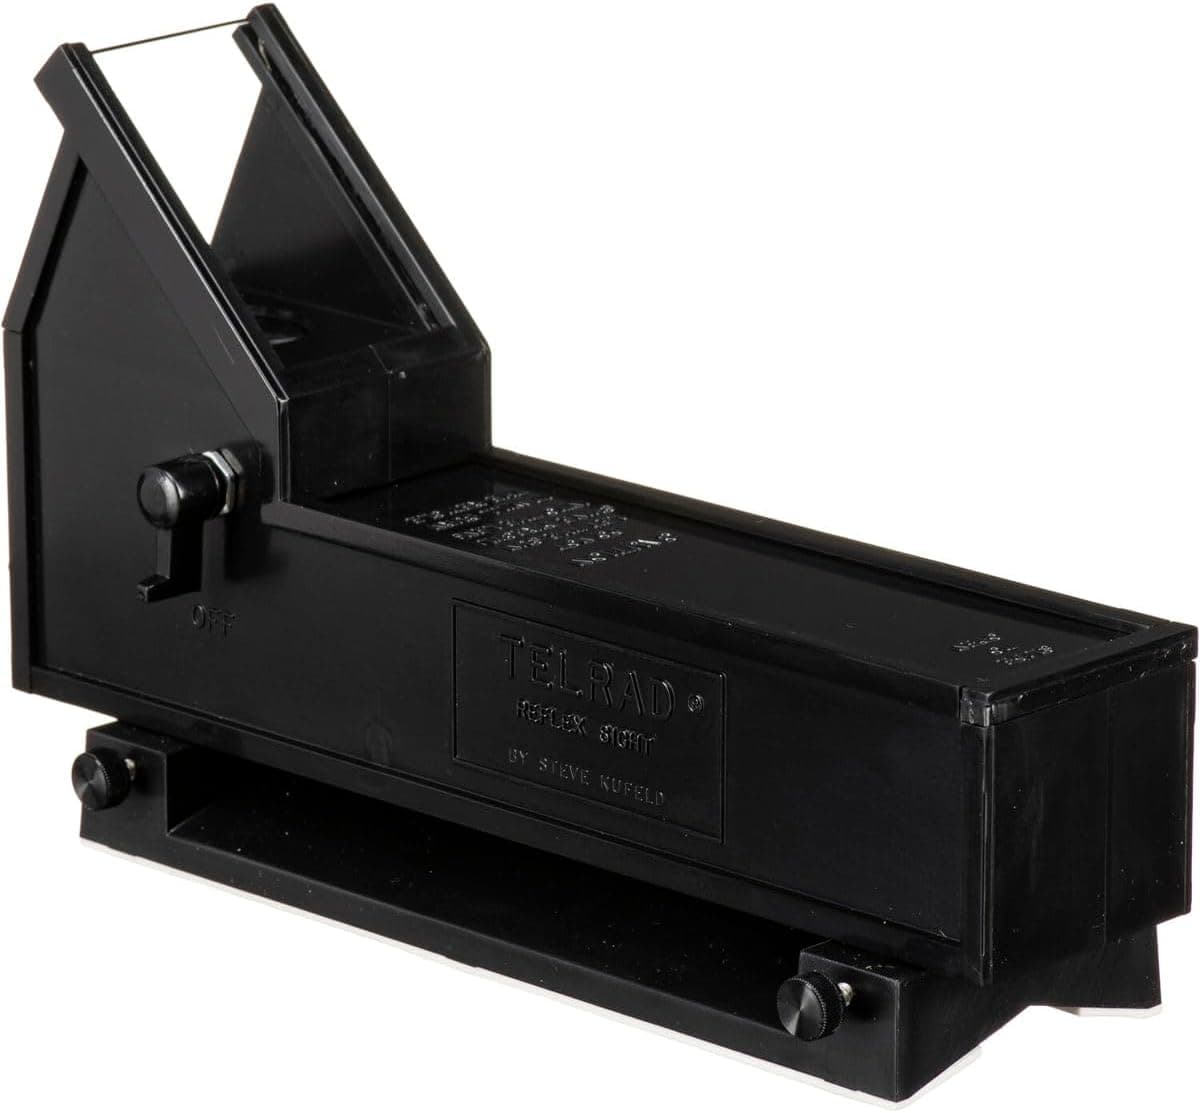
+ Bullseye rings make it easy to estimate distances between stars
From our guide: Best Red Dot Finders for Quick, Easy Aiming (2026)
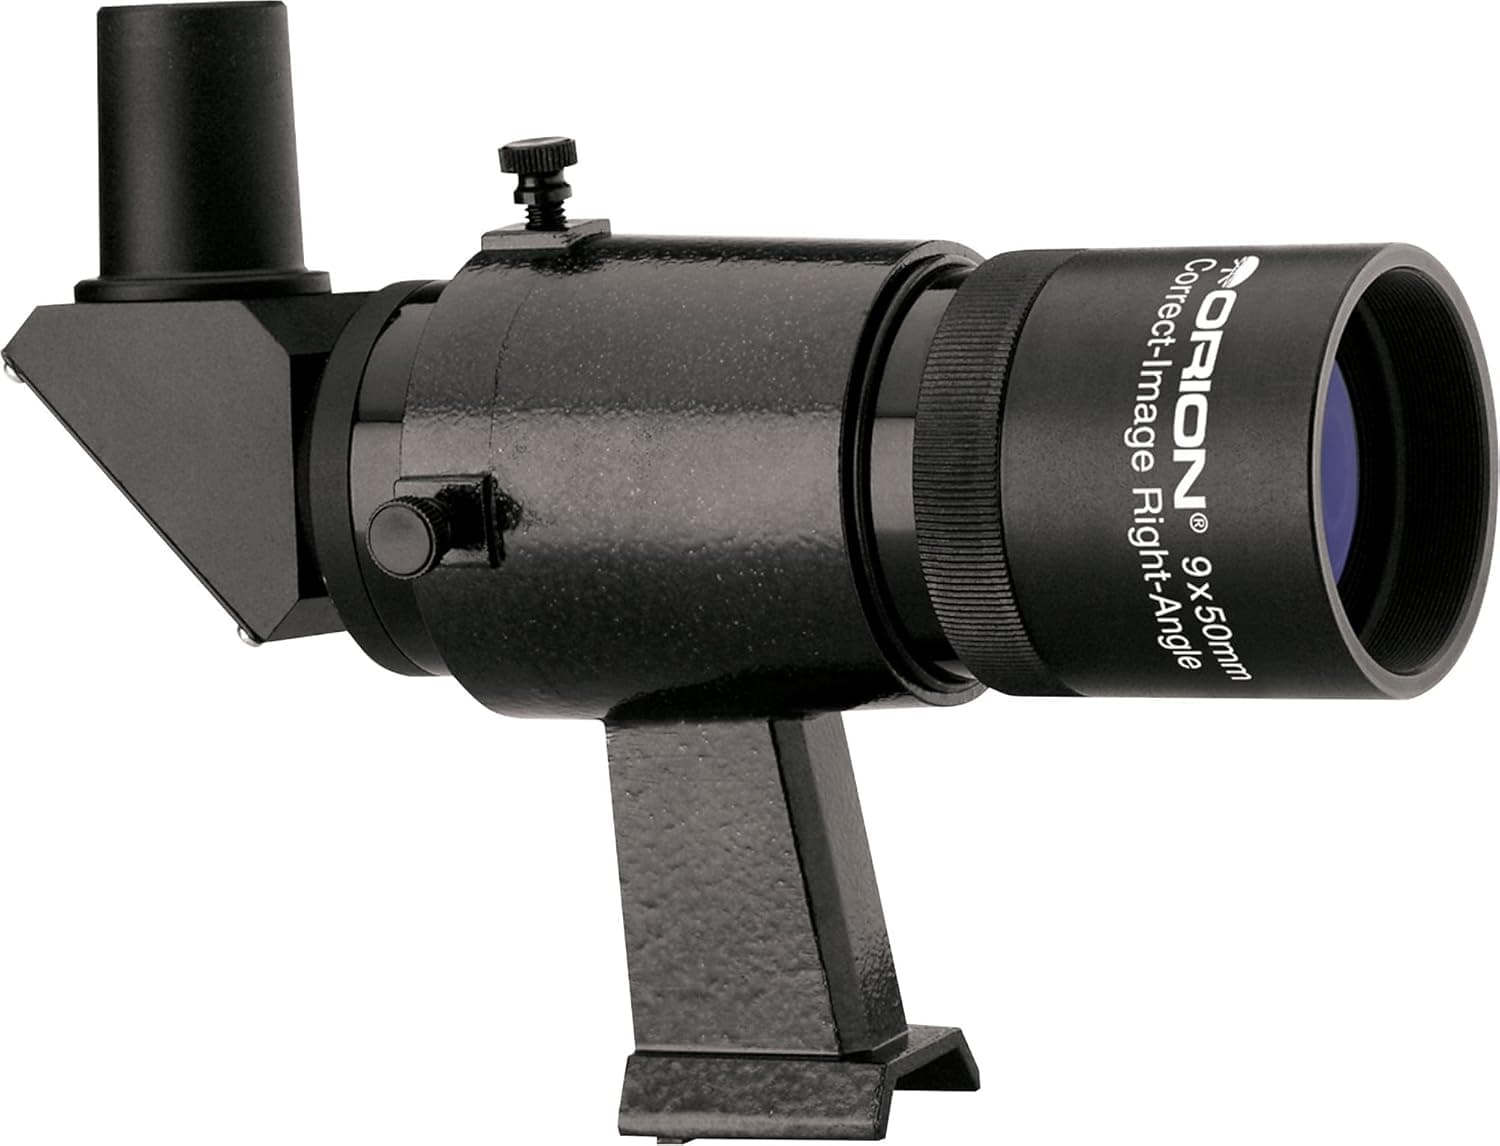
+ Correct-image view matches charts, making star-hopping intuitive
From our guide: Best Finder Scopes to Locate Targets Fast (2026)
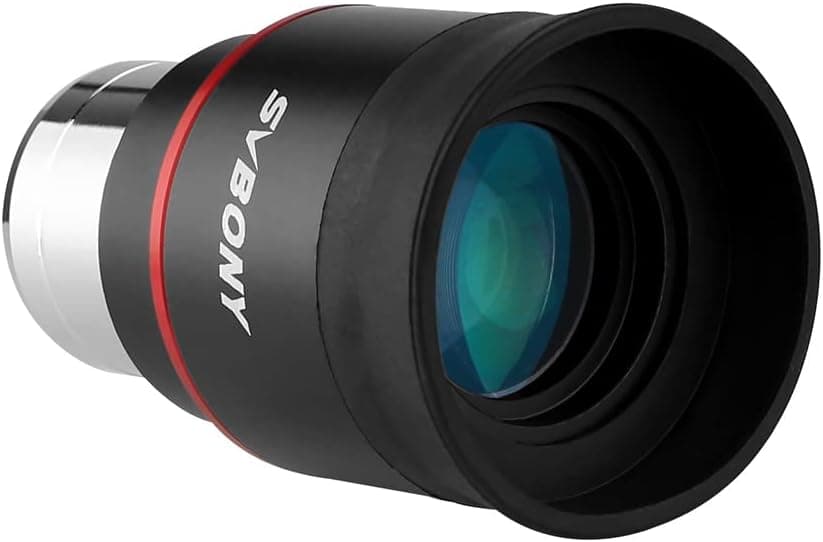
+ 50 degree field is wider than classic Plossls for more immersive views
From our guide: Best Plossl Eyepieces for Sharp, Value Views (2026)
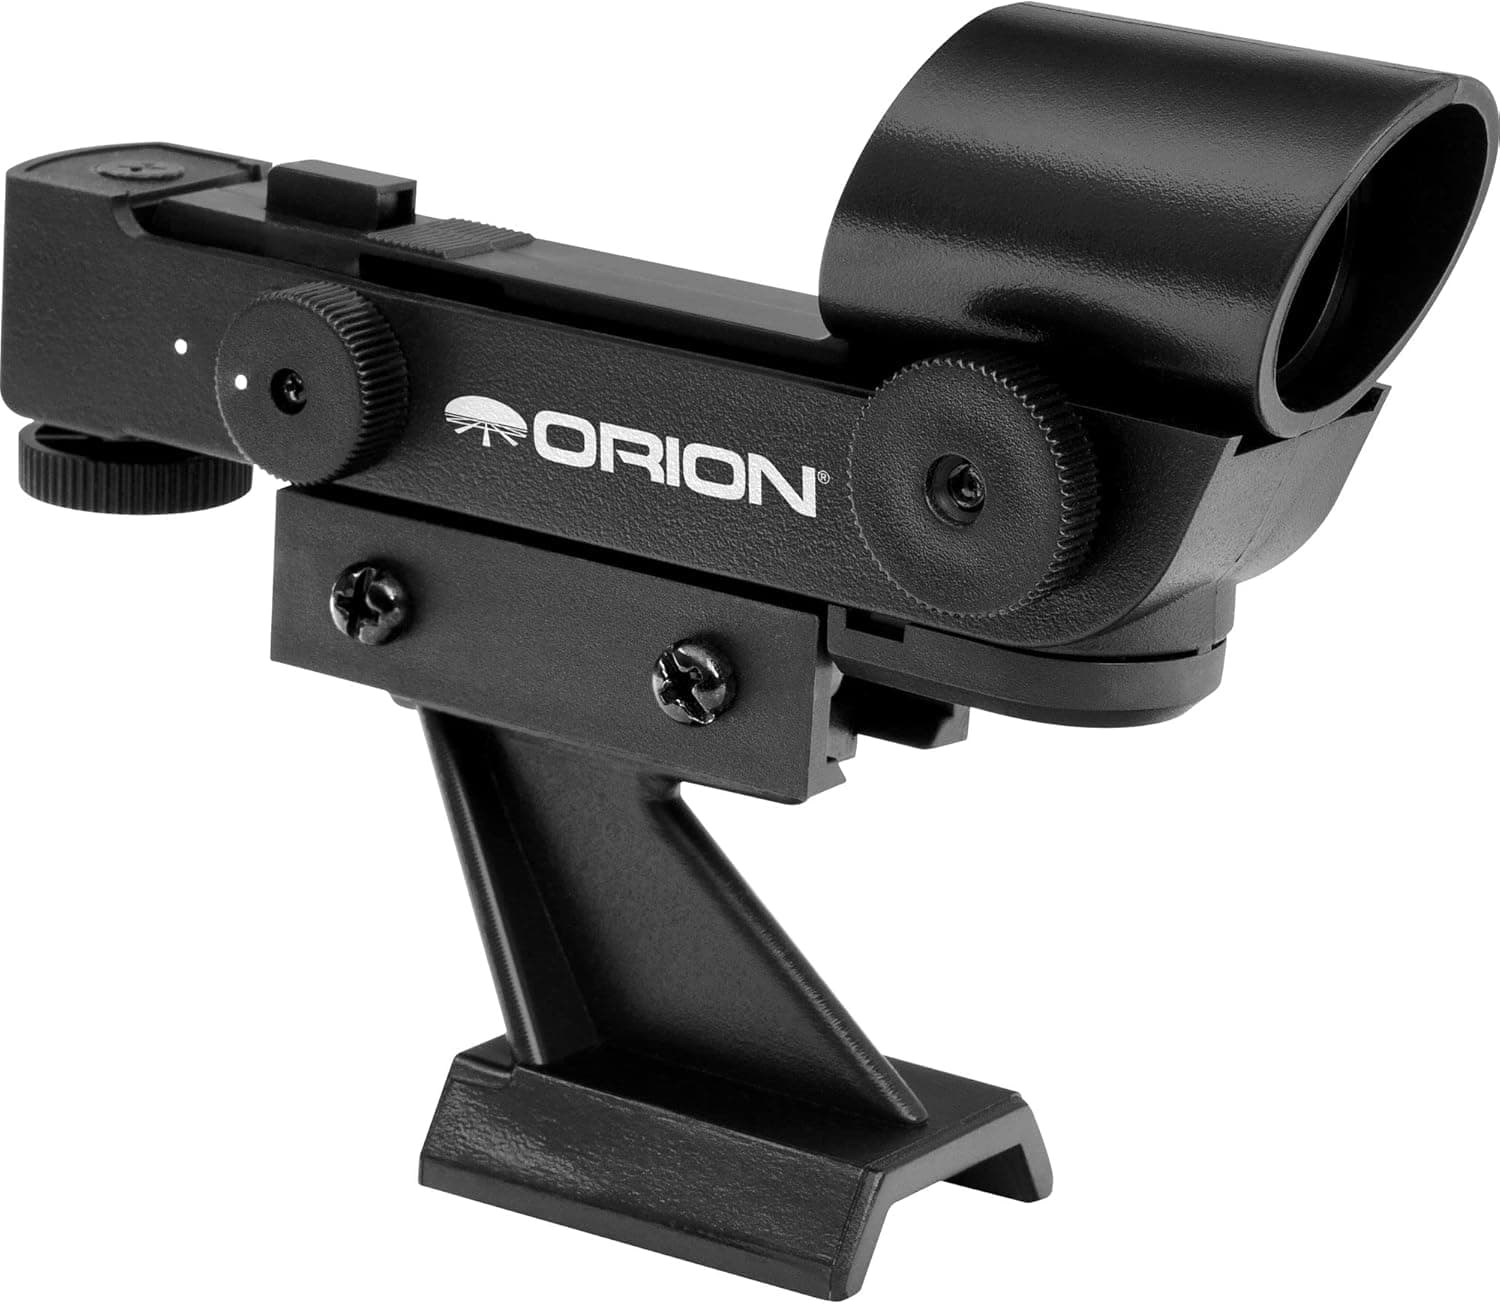
+ Universal fit covers refractors, reflectors and Cassegrain telescopes
From our guide: Best Red Dot Finders for Quick, Easy Aiming (2026)
Popular right now
- Best Intervalometers for Automated Astro Shots (2026)Buying guide
- Best Maksutov Telescopes for Planets and Moon (2026)Buying guide
- Best Compact Binoculars for Grab-and-Go Nights (2026)Buying guide
- Best GoTo Mounts for Automated Object Finding (2026)Buying guide
- Best Refractor Telescopes for Sharp Views (2026)Buying guide
- Telescope Maintenance and CareArticle
Based on the last 28 days of search and visitor data.